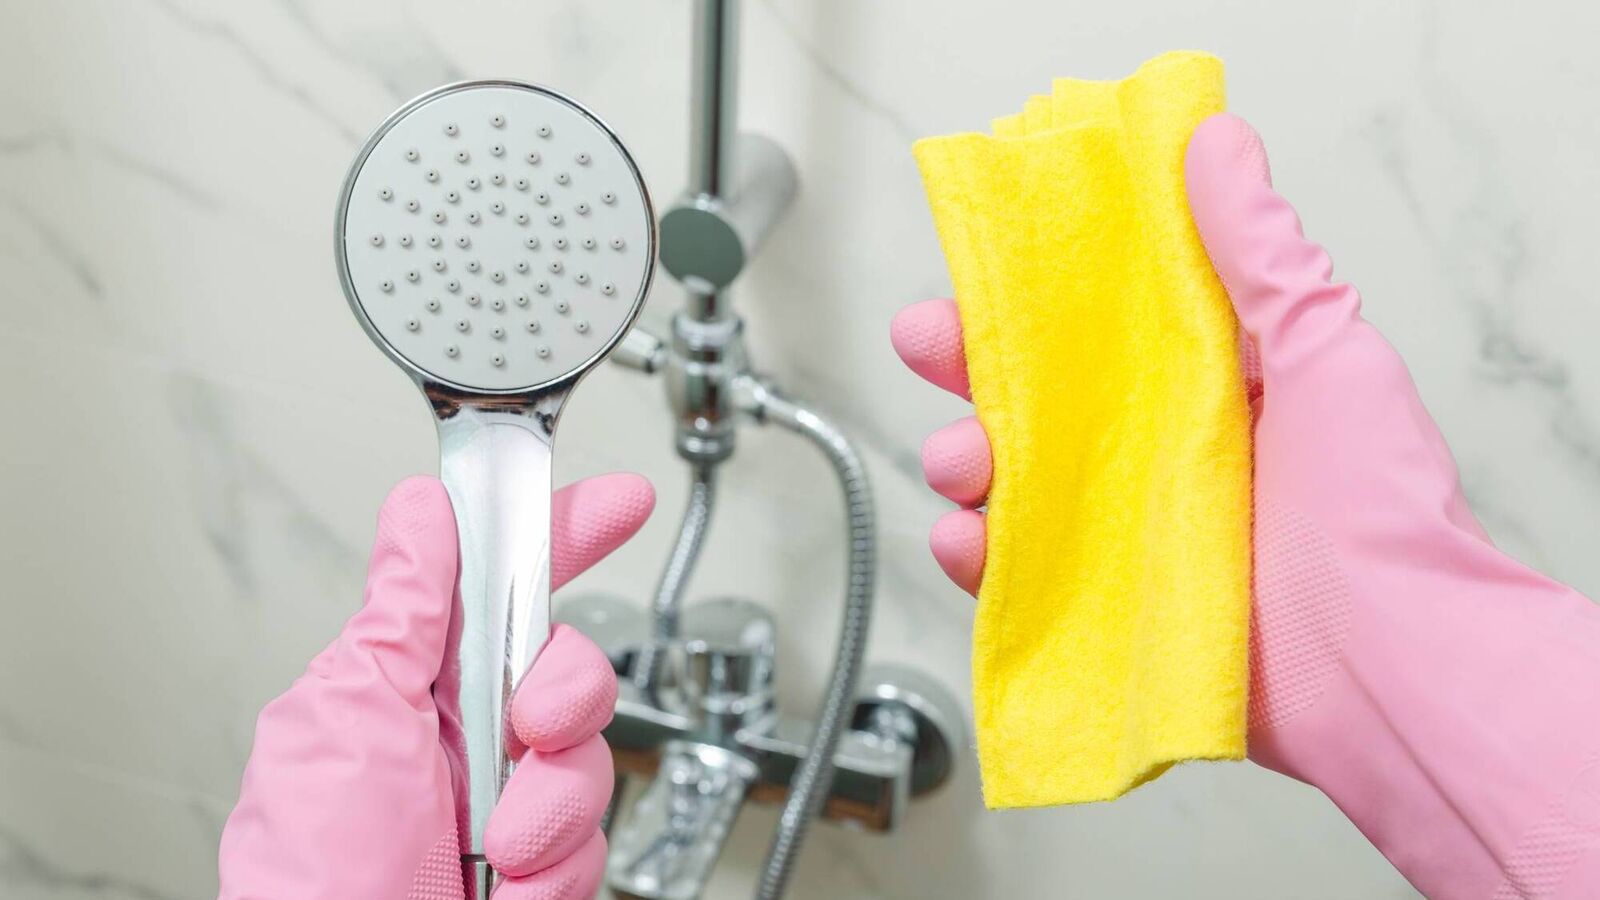
Picture this: It’s 7 a.m., you’re half-awake, and you step into the shower hoping the warm water will magically transform you into a functioning human. But instead of bliss, you’re greeted by a crusty, white film on your showerhead and tiles that no amount of scrubbing seems to fix. Sound familiar? Yeah, me too.
I used to think calcium buildup was just one of those annoying things I’d have to live with—like mismatched socks or that one kitchen drawer that refuses to close properly. But then I hit my breaking point. I was scrubbing my shower tiles with a toothbrush (yes, a toothbrush) at 11 p.m., muttering to myself like a mad scientist. That’s when I decided enough was enough. After some trial and error (and a few Pinterest deep dives), I finally cracked the code to removing calcium buildup like a pro. And guess what? It’s way easier than you’d think.
Let’s be real: calcium buildup is the uninvited guest that overstays its welcome in every shower. It’s not just ugly—it can also clog your showerhead, reduce water pressure, and make your bathroom feel less like a spa and more like a science experiment gone wrong.
But don’t worry, I’ve got your back. In this post, I’m sharing my step-by-step guide to banishing calcium buildup for good. Whether you’re a cleaning newbie or a seasoned pro, these tips are easy, affordable, and (dare I say) kind of satisfying. Let’s turn your shower from “meh” to “dreamy” in no time!
Step 1: Gather Your Supplies
First things first, let’s talk tools. You don’t need a fancy cleaning arsenal to tackle calcium buildup—just a few household staples:
- White vinegar (the MVP of cleaning)
- Baking soda (for extra scrubbing power)
- A spray bottle (to make application easy)
- A soft sponge or cloth (no scratching allowed!)
- An old toothbrush (for those hard-to-reach spots)
- Rubber gloves (because nobody wants chemical hands)
Optional but helpful:
- Lemon juice (for a fresh scent and extra acidity)
- A plastic bag and rubber band (for showerhead cleaning)
Step 2: Tackle the Showerhead
Let’s start with the showerhead—it’s usually the worst offender. Here’s how to clean it without breaking a sweat:
- Fill a plastic bag with white vinegar (about halfway).
- Place the bag over the showerhead, making sure it’s fully submerged.
- Secure the bag with a rubber band and let it sit for 1-2 hours.
- Remove the bag, scrub any remaining buildup with an old toothbrush, and rinse thoroughly.
Pro tip: If your showerhead is extra crusty, you can leave the vinegar on overnight. Just be prepared for your bathroom to smell like a pickle factory.
Step 3: Clean the Tiles and Glass
Now it’s time to tackle those tiles and glass doors. Here’s my go-to method:
- Mix equal parts white vinegar and water in a spray bottle.
- Spray the solution generously onto the affected areas.
- Let it sit for 10-15 minutes to break down the buildup.
- For stubborn spots, make a paste with baking soda and water, apply it to the area, and let it sit for another 10 minutes.
- Scrub gently with a soft sponge or cloth, then rinse with warm water.
Bonus tip: If you’re dealing with glass doors, wipe them down with a squeegee after every shower to prevent future buildup. It’s a game-changer!
Step 4: Don’t Forget the Fixtures
Faucets and handles can also fall victim to calcium buildup. Here’s how to keep them shiny:
- Soak a cloth in white vinegar and wrap it around the fixture.
- Let it sit for 15-20 minutes.
- Scrub gently with a toothbrush or sponge, then rinse and dry.
For an extra shine, buff the fixtures with a microfiber cloth. It’s like giving your bathroom a mini makeover!
Step 5: Prevent Future Buildup
Now that your shower is sparkling clean, let’s keep it that way. Here are a few tips to prevent calcium buildup from coming back:
- Wipe down surfaces after each use: A quick swipe with a squeegee or towel can work wonders.
- Use a water softener: If you live in an area with hard water, a water softener can reduce mineral deposits.
- Clean regularly: Make calcium removal part of your monthly cleaning routine.
And there you have it—my foolproof guide to removing calcium buildup and reclaiming your shower’s sparkle. Trust me, once you see the difference, you’ll wonder why you didn’t try this sooner.
Now it’s your turn! Grab that vinegar, roll up your sleeves, and give these tips a try. And when you’re done, snap a pic of your shiny shower and tag me on Instagram—I’d love to see your transformation!
If you found this post helpful, don’t forget to share it with your friends (because let’s be real, we all have that one person who needs this advice). And for more cleaning hacks, decor tips, and lifestyle inspiration, follow me on Pinterest or check out my other posts.
Here’s to cleaner showers and happier mornings!

Leave a Reply